Tuesday, May 14, 2013

Still Stripping!

So the last few days I stripped down the rear end.  It was a late nighter and I wasn't tired.  I started by removing the rear shackles.  The bushings made removal a bit tough.  I ended up having to use a 12" pc of rebar as a "punch" to drive the back side of the shackle off the frame.  While driving it, I would use my floor jack to lift and lower the rear end to change the angle of the shackle pin/bolt.  I finally got each side to where I could wiggle the shackle loose.  The shackles are now in my "sand blast" pile of brackets and other small parts.


The front was a little trickier because the angle was hard to get to from the side with the lower weld seam hanging in the way.  My solution was to use a socket on the bolt head, but it in a bind and rotate the bolt to the left, as though I was removing it while with the other hand pressing and releasing the leaf spring.  By this point, I had lowered the wheels into the car dollies, so not much weight was on the spring.This worked amazingly well.  I am sure that there are some other ways to do this, especially with the right tools.  All told, it took me about 45 minutes to get the rear end completely out.  Not too bad.


I also spent some time finishing painting my front seat frames.  I still have the back seat cushion left to paint and then just wait for the covers to show up.  I will try to document the process on this to share the tips and tricks I learned from other mustangers.

I should have taken a before photo of the fuel line.  It was pretty rough in a couple of spots, but all in all it cleaned up pretty well.  I used a fine wire wheel brush to do the heavy lifting and then finished with a 00 steel wool.  The steel wool removed the wire wheel marks.  Once I get the rear section finished, I will treat these and the new brake lines with Rust Prevention Magic that I picked up from NPD.  Based on the reported salt spray test results, I am pretty confident that these will not rust for many years to come.


Thursday, May 9, 2013

Seats and things

During the last month, I spent time preparing parts I had available.  I spent a couple of days stripping down the seats and it was messy!  I was glad to get the old burlap and rotted foams off the frames.  I was hoping a quick clean of the frames would be enough, but it wasn't for most of them.  The two front seats were a complete disaster under the covers.  I took them out to Gary Lowe of Lowe's Sand Blasting and had them blasted clean.  The back seat upper spring frame was pretty rusted at one end.  It looked like someone had leaned it against a wall and let it get rained on.  So we sand blasted that too.  The seat cushion for the back seat was ok for the most part.  Just some mild rust on the left side.


So today I spent a bit of time painting the seat frames.  Not done with all of them, but about half way.  I also painted my 7/8" GT front sway bar, but then the garage was closed and it knocked it down, so I will have to wait a few days and sand and paint again.  Stuff happens!

I also started to refeed the spring wires through the canvas.  I am not sure this is going to work as I need to get some listing wire to bind the flex wire to.  When I removed the flex wire from the old piping, the ends broke.  It may be too brittle and I may have to do what the local cover shop recommended and go with a layer of burlap and thin jute.  I am mostly concerned about the springs tying together to bear the weight and the wire has to be spring wire otherwise I run the risk of it folding back and puncturing the seat cover.

My first attempt wasn't so bad.  I folded up the material acordian style and then fed the wires through.  It worked pretty good, but the spacing wasn't very accurate so when I pressed it tight, it would not fit.  So as a second attempt, I took a sharpy marker and put the wires next to the burlap, marked the location of each wire on the listing wire, then re-assembled.  Wa-la!  The spacing was on and it worked.  I pulled the burlap back over the wires and it was pretty good.  The next time I do this, I am going to mark where to fold the burlap to make sure I get good spacing.


A member of the California Special forum sold me a bunch of parts for the interior so I spent the rest of my free time cleaning those up.  I am real grateful to Marty for the parts.  The car was originally blue and was converted to a black interior so it is nice to have guys like Marty around to get correct parts from.

Wednesday, May 8, 2013

One Month Later!!!

Well I am happy to say that I survived the last month!  Sorry not to update my pages, but been swamped selling parts and fixing the house while trying to keep my day job!  I picked up a few fun items along the way.  I bought a sand blast cabinet from Harbor Freight.  I know, they aren't the best quality gig in town, but for what I have to do, it really works well. What didn't work was the air drier that I bought.  I bought a simple $12 Husky brand from Home Depot, to find out it was pretty useless for sand blasting.  So I went back to HF and bought their two stage filter and drier for $45 - about half the cost of competing set-ups.  I have barely assembled it this week and yet to test.  I am crossing my fingers.

I had an extra rolling cart that I leave it on and roll it outside when using it to help control dust.  The main complaints I read about this cabinet was that it leaked, no light and cheap gloves.  So far, this cabinet came assembled and caulked.  I hook a shop vac to the left side port and it keeps it from leaking as long as I don't forget to turn it on 8-/.  The biggest mess it makes is when I open the side door to remove the parts...so far, so good!  It is nice to have this for smaller parts.  The cabinet will fit a 302 head, but I don't think the inside grate will support the weight.

On top of the cabinet, I have been talking with machine shops and considering engine builds.  I have decided to keep this build stock.  Originally, I was going to port and flow the original 302 heads (which I will still do a little), but at $500 per head for a shop to do it, puts it out of budget for me right now. So port and flow and hardened seats and new guides put the heads at about $1500.  After checking into the heads, it is about the same price or cheaper to buy a set of good breathing aftermarket Edelbrock, Dart, Trick Flow or other heads that have bigger valves and ports off the shelf.  So for this initial build, I am going to go with a stock build with some mild porting/port matching.

Really as I kept changing this and that, the build was pushing over $5K and I had to real myself in.  I decided for the first build in this car to go more mild and keep it sane and a fun cruiser I will enjoy on the freeway and around town.

Something else I picked up to make it more enjoyable is some sound deadener.  Dyanmat is all the rage, and because of my budget, I am going to go on some friends word and try out Audio Technix sound barrier.  It is a bit thicker than Dynamat (67mil V 80mil) and has had some pretty extreme testing done on it.  I will do the roof, firewall, outer door skins, floors and qtrs around the rear seat.  Any visible areas in the trunk will not be deadened to keep a stock look.

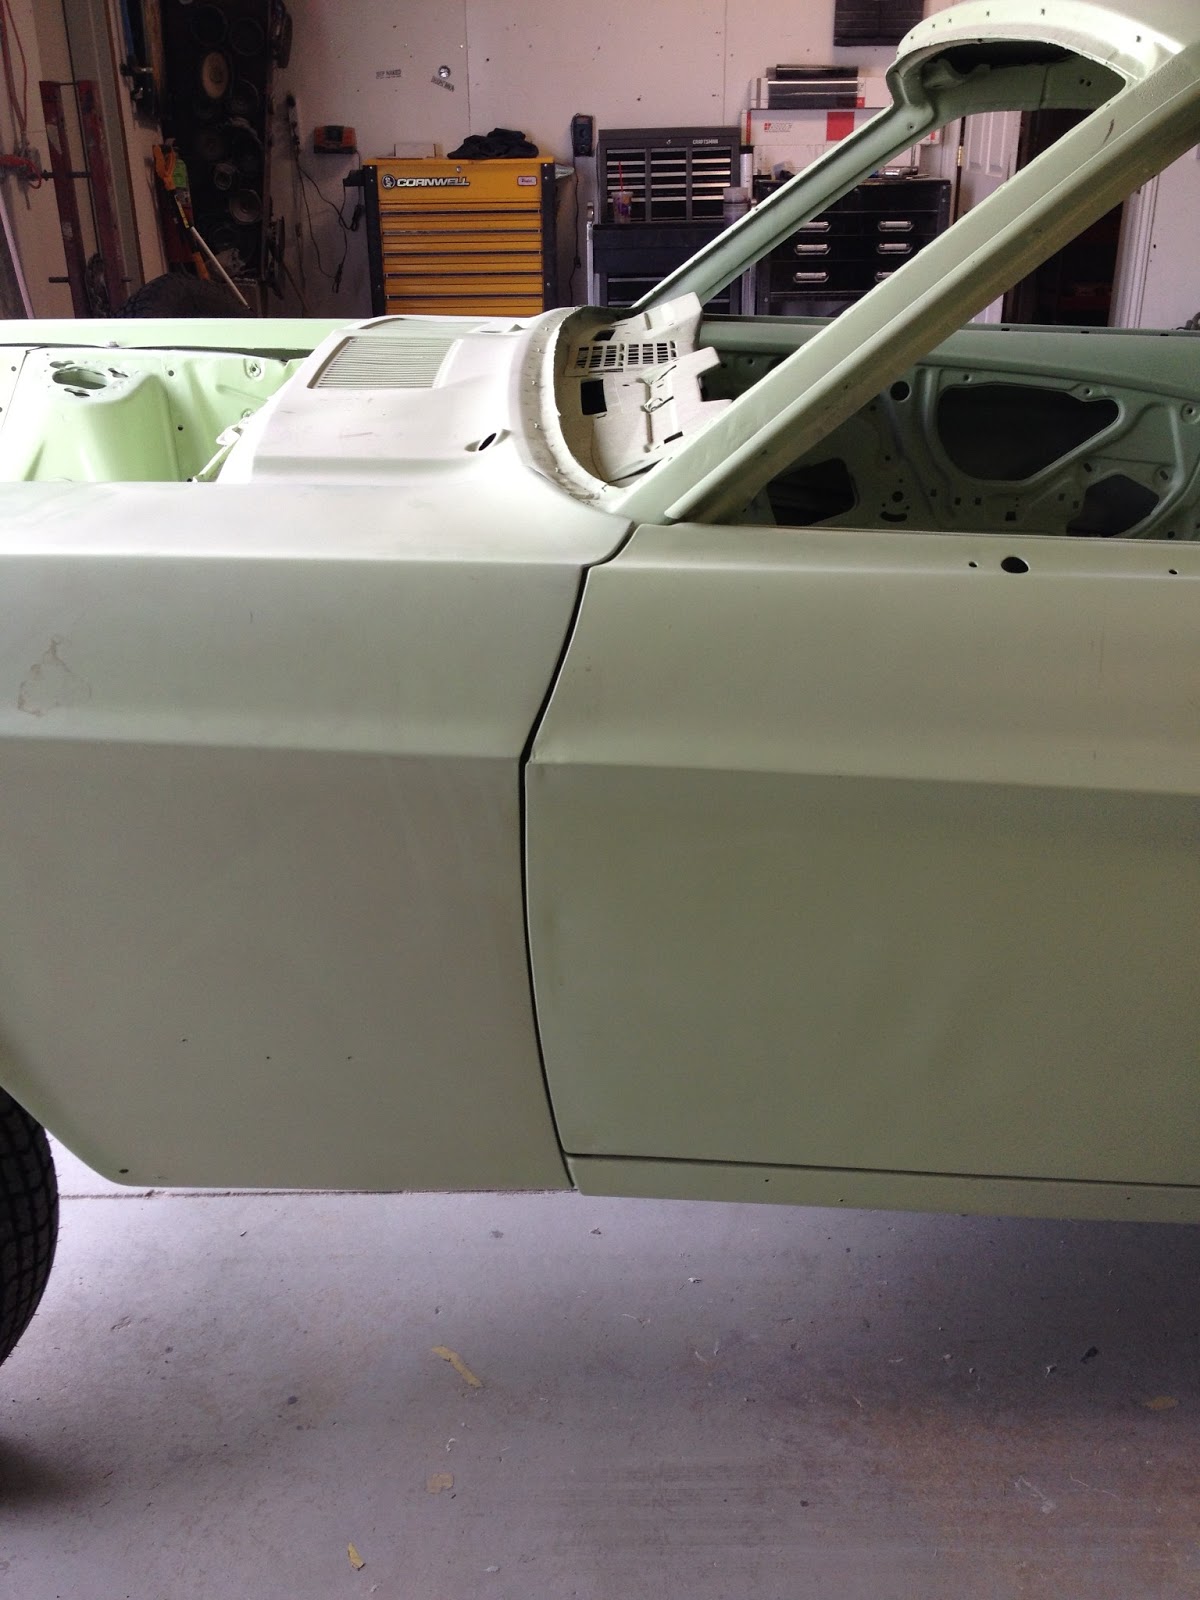
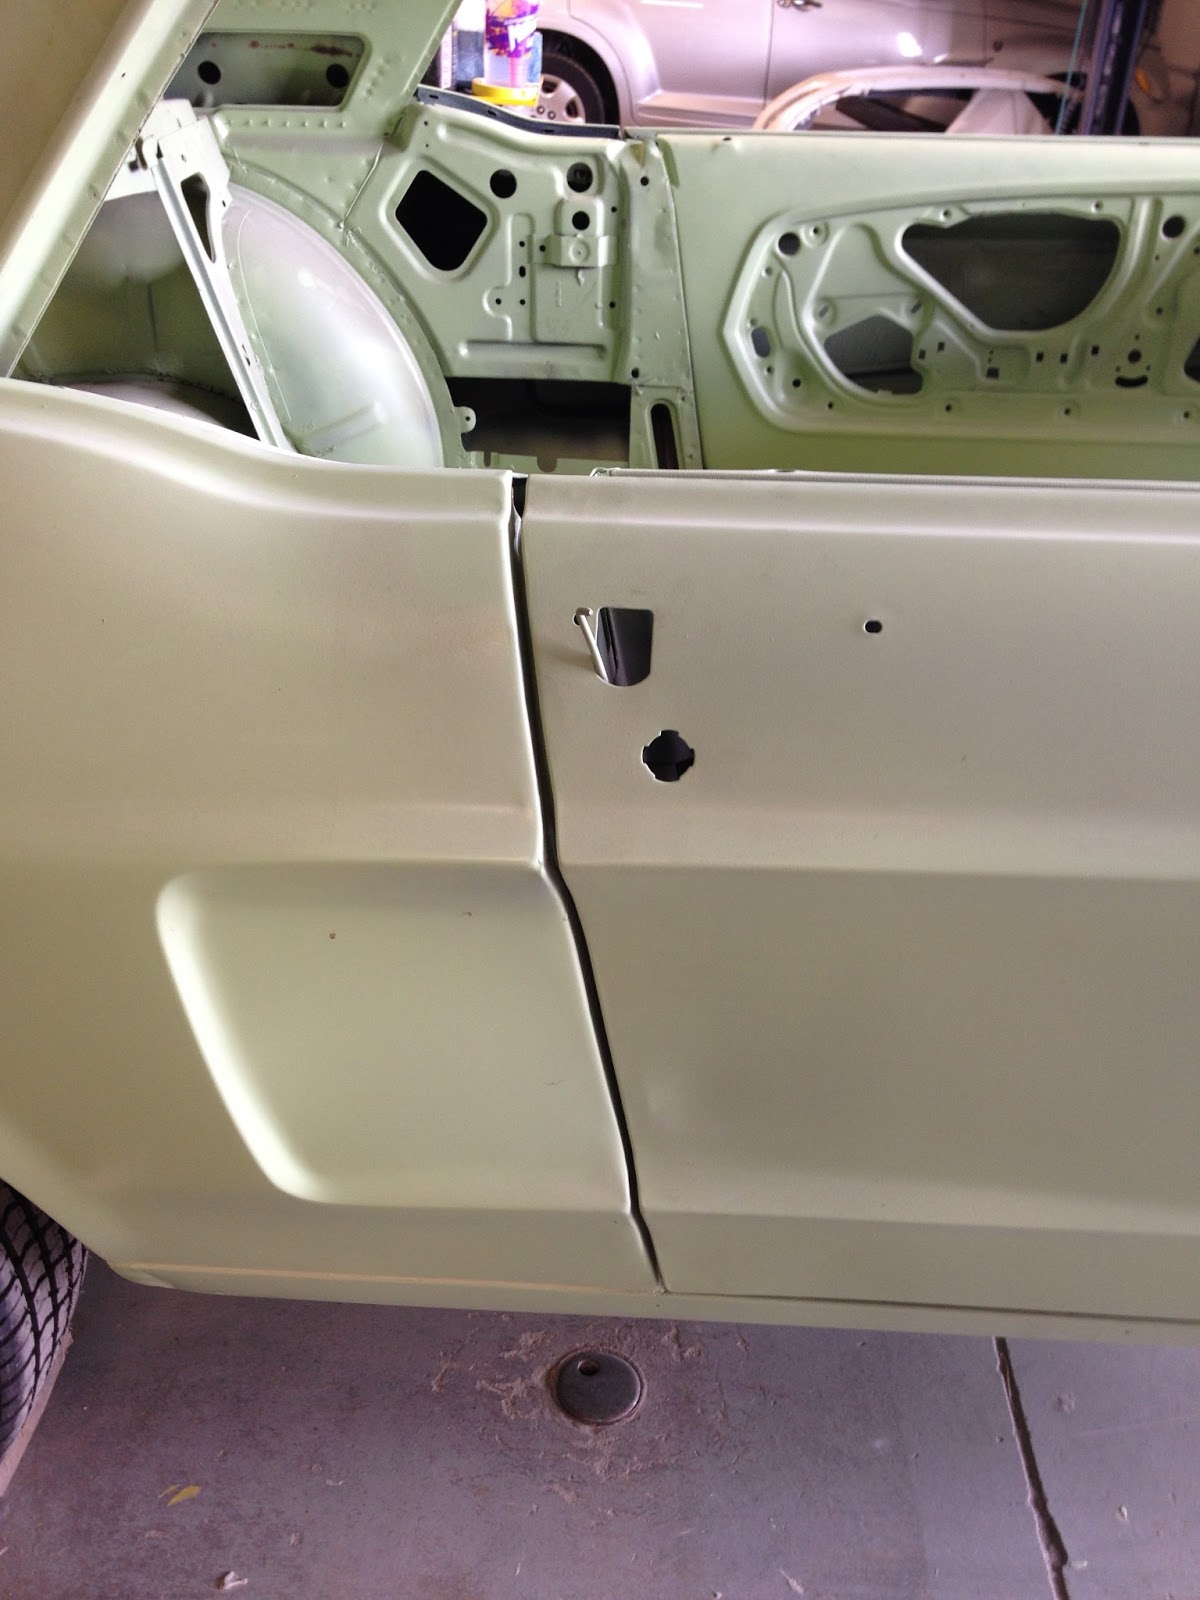
Here is a photo of the car - it is home now, and I just placed the script in it for fun.  I put some of the rubber bumpers on things and just finishing up some loose ends before I get going real crazy.

Brad and Jessie helping to navigate back into the garage by putting it on dollys

California Made It Happen!


Friday, April 5, 2013

I am falling behind!

So it was Spring Break this last week and we went to Las Vegas to enjoy some warm weather.  While I was gone, Brad and Jessie were working like crazy!  I got home today and Brad called wanting to know the color codes.  It took a while to dig them up, but found the Ditzler colors for the Guardsman Blue (Ditzler # 12832) for the exterior and the Light Blue Poly (Ditzler # 13004) for the interior.  Then about 9pm tonight I got the following photos!


I am very excited!  I have got to get going on my parts order list and get things ready!

Friday, March 22, 2013

What Happened!!!

March 22, 2013

OK - I forgot some more stuff - I need to take the "California Special" and "Mustang" scripts as well as the rear quarter reflectors.  The original script is in really great condition and will polish up very well.  It turns out the hinges for the car are worn and the rear of the hood wants to pop up, so they need better hoods.  Despite all the parts I have, I don't have extra hinges.  So I had to order some from NPD.  I ordered the Dynacorn Premium (read "extra thick") hinges, two tone blue vinyl dyes, Ford tooling rear reflectors, rear quarter extension (original is beyond repair from previous collision), and a bunch of other stuff I can't remember now - day was too long.  

I also found a reproduction blue steering wheel on someone's shelf - probably the last one out there.  The car came with a Deluxe steering wheel originally, but finding a blue one is tough enough, let alone a DELUXE blue wheel...so I got this as back up, or maybe conversion to dlx.

I went up to C3 Restorations and what the?!?!  Where did all the green primer go?  As ugly as the green was, I think this is uglier. :-D


OK - not that ugly...it is getting really straight and they are working lightning fast!  The real story here though is the trunk lid.  This trunk lid was damaged from a rear end collision and the top lip was hurt pretty bad.  I tried to pick up a set that was for sale, but missed out to a bloke in Australia...doh!!!  BUT with that said, Brad has done a FANTASTIC job fixing it.  He removed all the original wood from the lip and then inserted bendable aluminum tubing to build the edge back up and make it better than original.  Here are some photos Brad sent me on his remake:


How is that for perfection!  I am impressed!  Thanks Brad!


No Time Wasting!

MARCH 15 - I got a call from Perks Auto.  The car is ready!!!  I am stoked!  I went a picked it up!  The front right rail droops no more and the seams - especially the right fender really fit well now.


Look at that nice straight seam!  Makes me feel like it was the best $400 I have ever spent on a car.  Perks was so great to work with, I can't thank them enough!  (Don't you love the antenna hole in fender - someone must have really wanted that antenna pretty bad!)


With the help of one of the Perks guys, we managed the independent steering and loaded it onto the tow dolly and off we went.  About a half hour later, we arrived and unloaded the car and moved it to it's home for the next month or so.


We unloaded a boat load of parts and misc brackets for fitting and painting.  Brad and Jessie of C3 Restorations are ready to get started!

March 19, 2013

OK, so I got a call from Brad at C3 Restorations - I forgot to bring up the hood hinges, so I need to run them out to him and needed to bring these up as well as a few items to have re-chromed - Rear bumper and Wing Windows.  They have wasted no time!  The ugly antenna hole is GONE!  


And they have began to prep all the factory seams for filling.


 March 20, 2013

I can't let Brad and Jessie have all the fun, so I have been sorting parts and beginning to prep parts for resurfacing or painting.  Today, I am working on the overhead console that I will be installing in this car.  Although it did not come with one originally, I like the look and feel it adds a great custom look to the interior.  I have only tried to buy original, unpainted parts, so that I don't have to worry about any paint flaking issues due to poor prep.  The console has several storage dents in the vinyl and foam. 

"Before"
I had already started to massage the dent out of this one before I took photos.  It improved a lot by the time of this photo, but is now hardly noticeable. 


The back side of this original 68 console is pretty clean.  All of the vinyl edges are in great shape too, we just need to revive the foam and vinyl a little bit... ...so, I just pulled out my heat gun and warmed the vinyl and foam and work and massage the shape back into the console.


My next step was to remove the buttons, aluminum insert and lights.  I plan on putting some POR15 on the back of the panel and then painting argent to seal the metal and prevent any more rusting.  Maybe I will get to that this Saturday.